
初めてのLaravel ⑤。ファクトリーの使い方

- Laravelでダミーデータを入れたい
- ファクトリー機能って何?
- Laravelの勉強がしたい
マイグレーションでデータベースを使えるようになったら、色んな処理をしてみたくなりますよね。そんな時にテーブルに自動でデータを入れてくれたら助かります。Laravelにはダミーデータを作成するためのコマンドも用意されているので使ってみましょう。
この記事を読むことでファクトリーの使い方が分かります。
初めてのLaravel ⑤。ファクトリーの使い方
今回はusersテーブルにデータを入れていきます。
現在の状態をTablePlusで確認してみます。
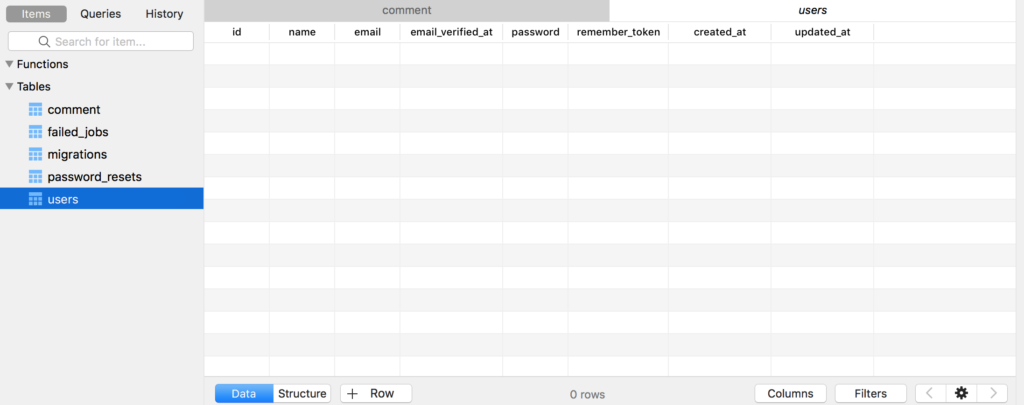
何もデータが入っていません。
では、ここにTerminalからデータを入れていきます。trainingプロジェクトで使っているテーブルなのでtrainingディレクトリでコマンドを入力します。
mbp:training user$ php artisan tinker
Psy Shell v0.10.4 (PHP 7.3.19 — cli) by Justin Hileman
>>> User::factory()->create();
=> App\User {#3058
     name: "Mckenna Rosenbaum",
     email: "howe.asia@example.com",
     email_verified_at: "2020-07-01 11:16:37",
     updated_at: "2020-07-01 11:16:37",
     created_at: "2020-07-01 11:16:37",
     id: 1,
   }
無事に作られました。
では、TablePlusで確認してみます。
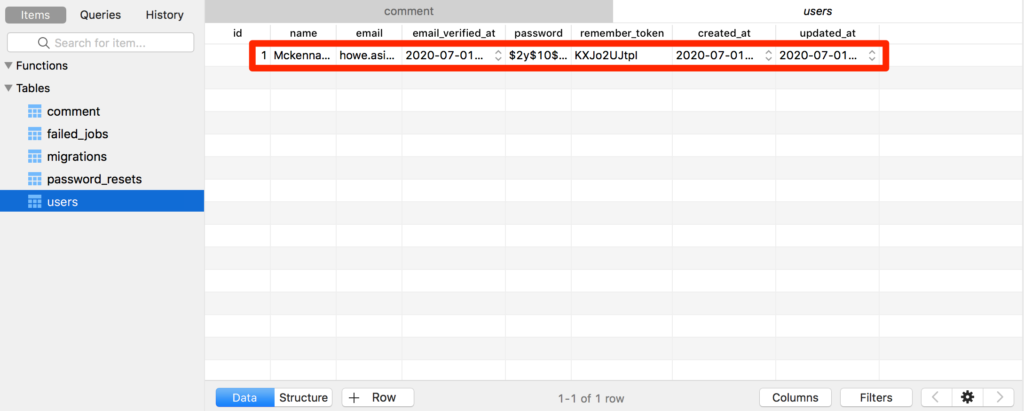
うまくデータが入ってますね。超簡単です。
ちなみに複数のユーザーデータも一気に入れることもできます。
classの後に数字を入れるだけですね。
>>> User::factory()->count(10)->create();;
=> Illuminate\Database\Eloquent\Collection {#3848
     all: [
       App\User {#3780
         name: "Nikita Robel",
         email: "travon.yost@example.org",
         email_verified_at: "2020-07-01 11:28:39",
         updated_at: "2020-07-01 11:28:39",
         created_at: "2020-07-01 11:28:39",
         id: 2,
       },
       App\User {#3053
         name: "Ms. Reyna Lowe Sr.",
         email: "carroll.angie@example.org",
         email_verified_at: "2020-07-01 11:28:39",
         updated_at: "2020-07-01 11:28:39",
         created_at: "2020-07-01 11:28:39",
         id: 3,
       },
    //10個のデータが作られるが省略
では、TablePlusを見てみます。
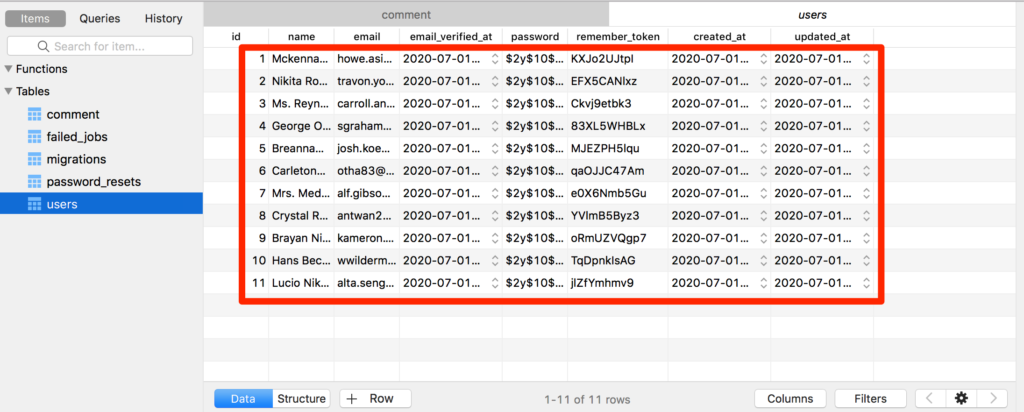
手動で入力するより断然早いですね。
ファクトリーの仕組み
では、どういう仕組みでこのデータが入っているのでしょうか?
まずはfactoryで使っているファイルを見てみます。
─── training
    ├── app
     ├── database
            ├── factories
                ├── UserFactory.php
UserFactory.phpには下記のように書いてあります。
use App\User;
use Faker\Generator as Faker;
use Illuminate\Support\Str;

$factory->define(User::class, function (Faker $faker) {
    return [
        'name' => $faker->name,
        'email' => $faker->unique()->safeEmail,
        'email_verified_at' => now(),
        'password' => '$2y$10$92IXUNpkjO0rOQ5byMi.Ye4oKoEa3Ro9llC/.og/at2.uheWG/igi', // password
        'remember_token' => Str::random(10),
    ];
});
User::classにFakerライブラリーからダミーデータを作っています。また、テーブルのカラムに応じたデータになるように制限を加えています。
Userテーブルは最初から入っているので編集する必要がありませんでした。しかし、自分で作ったテーブルにデータを入れたいですよね。
では、自作したcommentテーブルにデータを入れるためのファイルを作って見ましょう。Terminalでphp artisan make:factoryを使うのですが、使い方を調べて見ます。
mbp:training user$ php artisan help make:factory
Description:
  Create a new model factory

Usage:
  make:factory [options] [--] <name>

Arguments:
  name                  The name of the class

Options:
  -m, --model[=MODEL]   The name of the model
  -h, --help            Display this help message
  -q, --quiet           Do not output any message
  -V, --version         Display this application version
      --ansi            Force ANSI output
      --no-ansi         Disable ANSI output
  -n, --no-interaction  Do not ask any interactive question
      --env[=ENV]       The environment the command should run under
  -v|vv|vvv, --verbose  Increase the verbosity of messages: 1 for normal output, 2 for more verbose output and 3 for debug
Usageで最後にファイル名を付けることやオプションで -m モデル名 を付けることでモデルの名前を付けることができると書いてあります。
実際に入力してみます。
mbp:training user$ php artisan make:factory CommentFactory -m "App\Comment"
Factory created successfully.
factoriesの中にCommentFactory.phpができていると思います。
  ├── factories
       ├── CommentFactory.php
       ├── UserFactory.php
中身を確認します。
use App\Comment;
use Faker\Generator as Faker;

$factory->define(Comment::class, function (Faker $faker) {
    return [
        //
    ];
});
モデルのクラスを指定したのでComment::classになっています。指定しない場合はModel::classになります。ちなみにテーブルを作った時にphp artisan make:model モデル名 でモデルファイルを作っておかないとエラーになります。
この中身を編集していくのですが、commentテーブルの構造を確認しましょう。
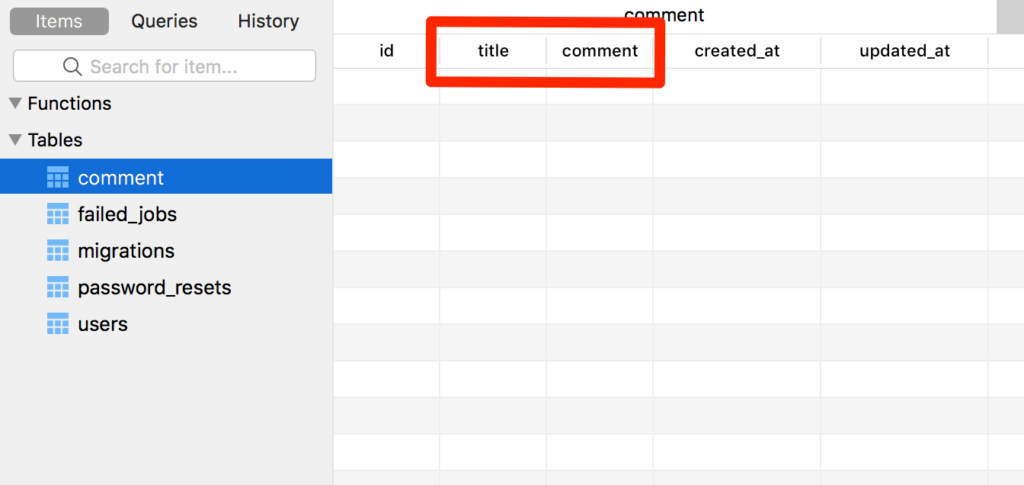
titleとcommentの2つですね。idとcreated_atとupdated_atは自然と入力されるので無視できます。
titleとcommentの両方とも文章を入れたいのでsentenceやparagraphを使います。この2つに違いはないと思って大丈夫です。
$factory->define(Comment::class, function (Faker $faker) {
    return [
        'title' => $faker->sentence, //追加
        'comment' => $faker->paragraph //追加
    ];
});
では、Terminalからファクトリーを実行してみます。
>>> factory(App\Comment::class)->create();
=> App\Comment {#3058
     title: "Dolor iusto ullam iste harum.",
     comment: "Qui sint ut ea ullam qui veritatis ipsa. Pariatur qui commodi illo ipsa eum. Tempore ipsum et dolorem. Dolore voluptatem quisquam nemo dolores. Excepturi corrupti eum deleniti eaque quasi ullam.",
     updated_at: "2020-07-01 12:27:18",
     created_at: "2020-07-01 12:27:18",
     id: 4,
   }
うまくコメントが作れました。
カラムに任意のデータを入れる
titleに任意の文字を入れたい、というときは下記のようcreateの中に書いていきます。
>>> factory(App\Comment::class)->create(['title' => 'title1']);
=> App\Comment {#3059
     title: "title1",
     comment: "Excepturi at quasi fugiat est distinctio voluptatem. Facilis quisquam illo veniam illo quia ut. Labore aut soluta facere sed aspernatur delectus. Maxime facilis et debitis.",
     updated_at: "2020-07-01 12:36:03",
     created_at: "2020-07-01 12:36:03",
     id: 5,
   }
CommentFactory.phpの中身で$fakerを使わずに’title’ => ‘title1’と書いても可能です。
2つのテーブルに同時にデータを入れたい
コメントと一緒にユーザーを作りたい、というときもあるかと思います。titleにユーザーのidを使う、という場合は下記のように書いていきます。
$factory->define(Comment::class, function (Faker $faker) {
    return [
        // 'title' => $faker->paragraph,
        'title' => factory(\App\User::class), //追加
        'comment' => $faker->paragraph
    ];
});
commentのダミーデータを作る時にはUserデータも作られ、Userデータのidがコメントのtitleになります。
まとめ
今回はlaravelのファクトリー機能を紹介しました。
Laravelの勉強をするのにダミーデータを1つずつ入力するのはだるいですよね。ファクトリーを使うと効率的に勉強できるので参考にしてください。